3-Day Full Microcement Guided Application Complete Microcement Course Designed For Those That Wish To Cover The Entire System
Our 3-Day Microcement course has been designed specifically for those that are looking to hit the ground running with the fastest growing, luxury decorative material in the UK. Microcement is the perfect material for high humidity areas. Thanks to its strong resistance, it is ideal for bathrooms and more specifically, showers. Another advantage of Microcement, is that it can applied directly to floors, within a domestic setting.
For those looking to get into the decorative industry, Microcement is a challenging place to start, its various layers, technical mixing ratios and use of trowels can be quite demanding for new applicators. Our standard 1-day course is geared towards professionals that have already worked with similar materials, perhaps other brands of Microcement, and simply wish to get up to speed with our product. The 3-Day course has been designed for those that want to be taken through each step with more time, having the opportunity to apply on more complex surfaces. All this while following the process in real time from beginning to end.
The 3-Day Microcement course will go through the application of our range of Microcement shower trays, and also show the difference between the Continuo Microcement system and the All Over coating system. This course is aimed at providing a real feel of the materials, whilst adapting to some of the time constraints. You will be given the opportunity to apply in part on walls, as well as also on boards for certain products / coats. This will give you a real feel of how these materials behave, for when you begin to use them in your first project.
On this course, we will also cover the application of All Over, our brand new, simpler-to-use coating for floors & walls and go through the nuances that make All Over different to our Continuo Microcement. We have prepared surfaces that will simulate the applications on niches, corners, as well as other typically awkward, hard to reach places. We truly aim for this course to be the one stop course to take for those that wish to master Microcement from beginning to end.
Is this course right for me?
Microcement is one of the fastest growing products within our industry, in part thanks to its flexible application which allows it to be applied over most surfaces. This makes it an excellent alternative for those looking to redecorate their properties. Our 3-day Microcement course is designed to cover the entire application of this wonderful product. Although this course is aimed at newcomers to this type of material, any previous experience working with a trowel is highly beneficial.
What sets this course apart from our standard 1-Day Microcement course, is the level of depth and detail that we go into. The extra time allows for us to carry a complete application, step by step. Giving us a chance to mix the components as a group, ensuring that we all know exactly how each layer works, from the preparation, to the application of it. On top of this, we will apply directly on to walls, as well as custom made boards that contain less conventional surfaces, that give us the opportunity to practice niches, corners, as well as the use of beads.
Once completed, this course will provide you with the confidence to go out there and carry out your own Microcement applications. This also includes discussions on the All Over product, giving you the confidence to choose the correct product for each project, by knowing the differences between the systems. We will also cover an in-depth explanation of how a Microcement shower tray should be fitted, adding an extra service that can be offered to clients. This is especially beneficial as showers and wet rooms are one of the most common areas in which Microcement is usually applied.
If you are interested in our 1-Day Microcement course, you can find it by clicking below.


Why train with Impera Italia?
At Impera Italia, we pride ourselves in providing a complete service. Having permanent facilities and a highly trained and reliable team. We work around the clock to help applicators and end users achieve their decorating goals. By training with us, you are not only learning from a genuine applicator that has been in the industry for a minimum of 8 years, actively carrying out projects and developing their own skills, but you also benefit from:
- Support from a technical team 5 days a week, from 8am to 5pm.
- Access to our library of custom colours for use in your own projects.
- A 10% discount on material for a minimum of one year, as well as a 5% discount on tools.
- A 15% discount for materials (Not tools) specifically on course dates.
- Expert advise and guidance on new materials, as well as access to an instant selection of over 100 different products.
- Our showroom, a space to bring any clients or designers. Use our samples and resources, colour charts in order to help your clients in the decision making process.
We always go above and beyond for our customers, we know that projects are never as straightforward as we want them to be, but we will do everything we can to make your projects smoother and try to minimize disruptions to your workflow.
Course Overview
01 Course Content
The course starts at 9 am and finishes approx. 3:30 pm on each of the 3 days. This will depend on how fast everyone is able to get through the materials, whilst making sure that the knowledge is being absorbed.
The following 5 key areas will be covered.
A. Method and coats
- Base coat
2 coats with mesh
- Decorative coat
2 coats with effect
- Sealer
1 coat
- Sealant
Resin and wax options
B. Other products
- Atomo
Primer for porous surfaces
- Pro Link
Primer for tiles
C. Repairs, Surface Preparation and After-care
- How to properly assess, prepare any substrate for Microcement application.
- How to calculate Microcement material requirements.
- How to deal with fundamental or superficial cracks.
- How to re-seal or re-protect a surface.
- How to change the effect/look.
- How to deal with small or large projects.
- How to deal with corners, snagging & accidental damages to Microcement.
- How to modify the effect/look on site.
- How to do wet room applications (bathrooms, shower cubicles, etc).
- How to maintain and clean Microcement.
- ‘What can go wrong’.
D. Tools
- Selection and maintenance
E. Working with Colours and Colouring
- Manual and industrial colouring, colour resistance and colour ability of the decorative coat.
02 On the day
DAY 1
- Arrival for the course is at 9am. Once everyone is ready to begin, we will begin with a short introduction between ourselves, where we learn a little about what we have done in the past, and get to know each others names. Courses are a great place to network!
- This will be followed by a brief description of some of the finishes in our showroom. We will give you some hints and point out applications that we will be discussing in the course, later on in the day.
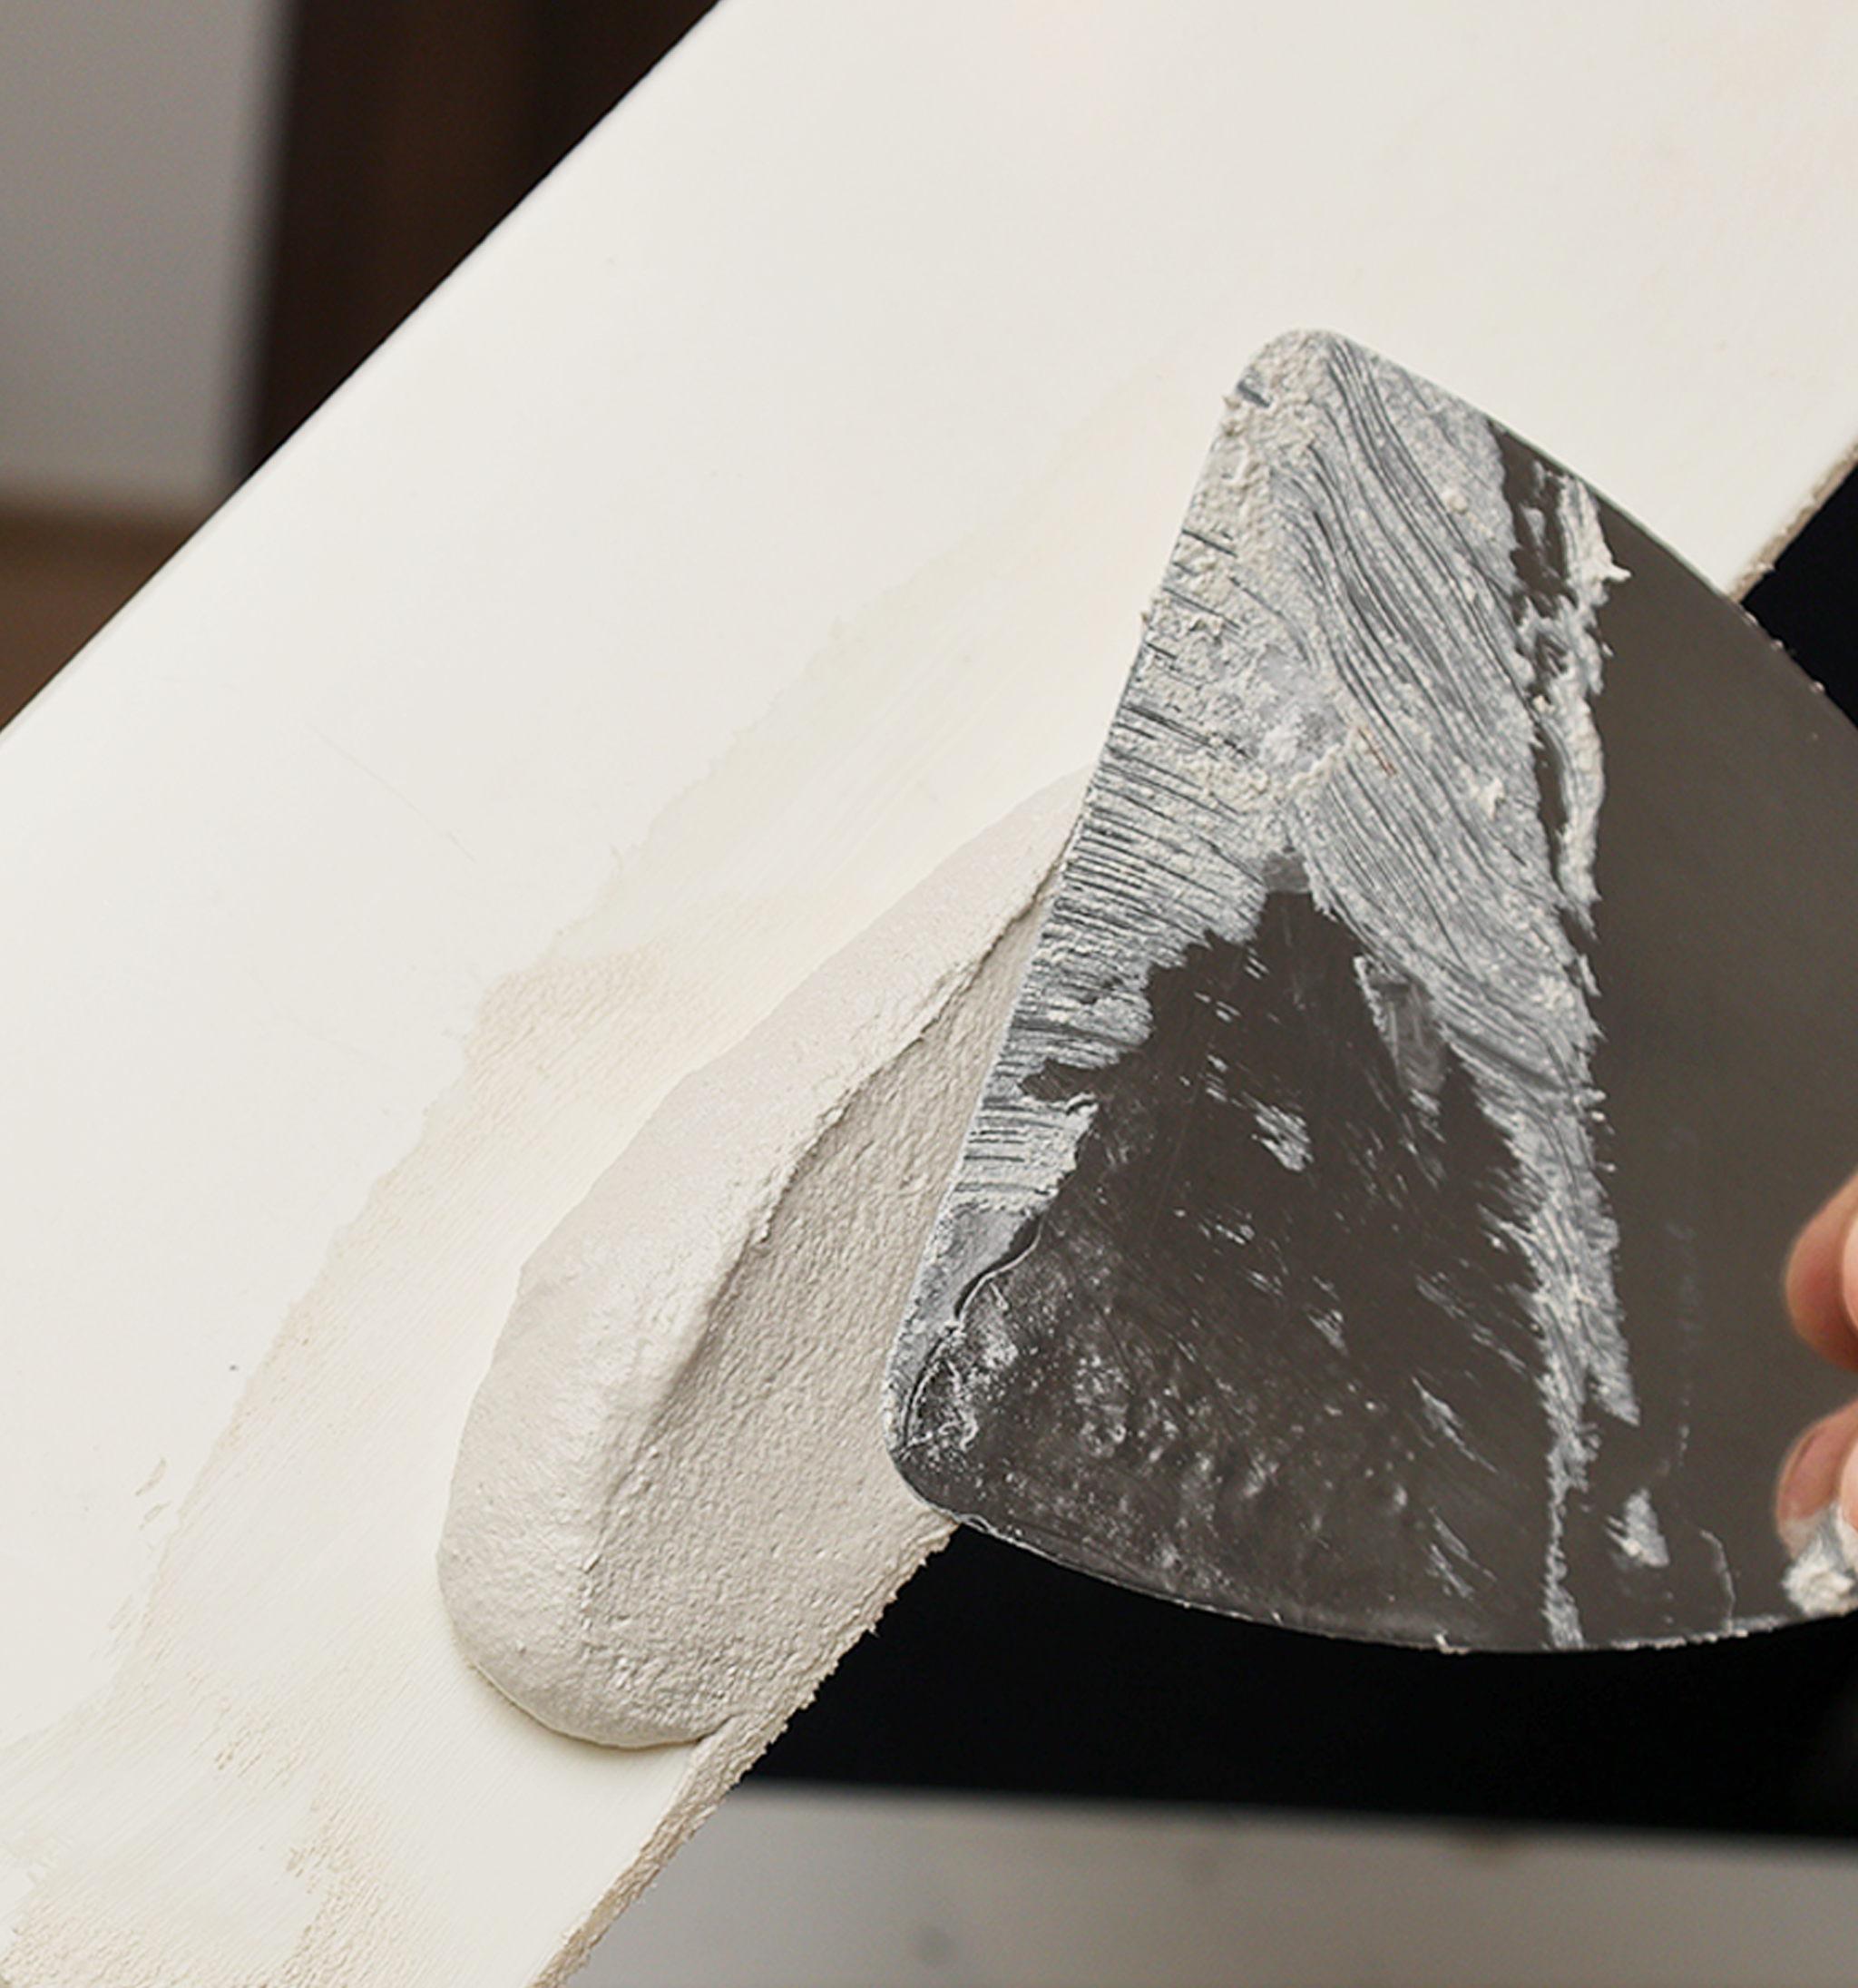
- Once we move to the training centre, we will begin by discussing the different types of primer, and prepare the primer we are going to use for our specific application. We will apply the correct primer to a board. We will then discuss the basecoat, and mix our own individual amount to use for our first coat.
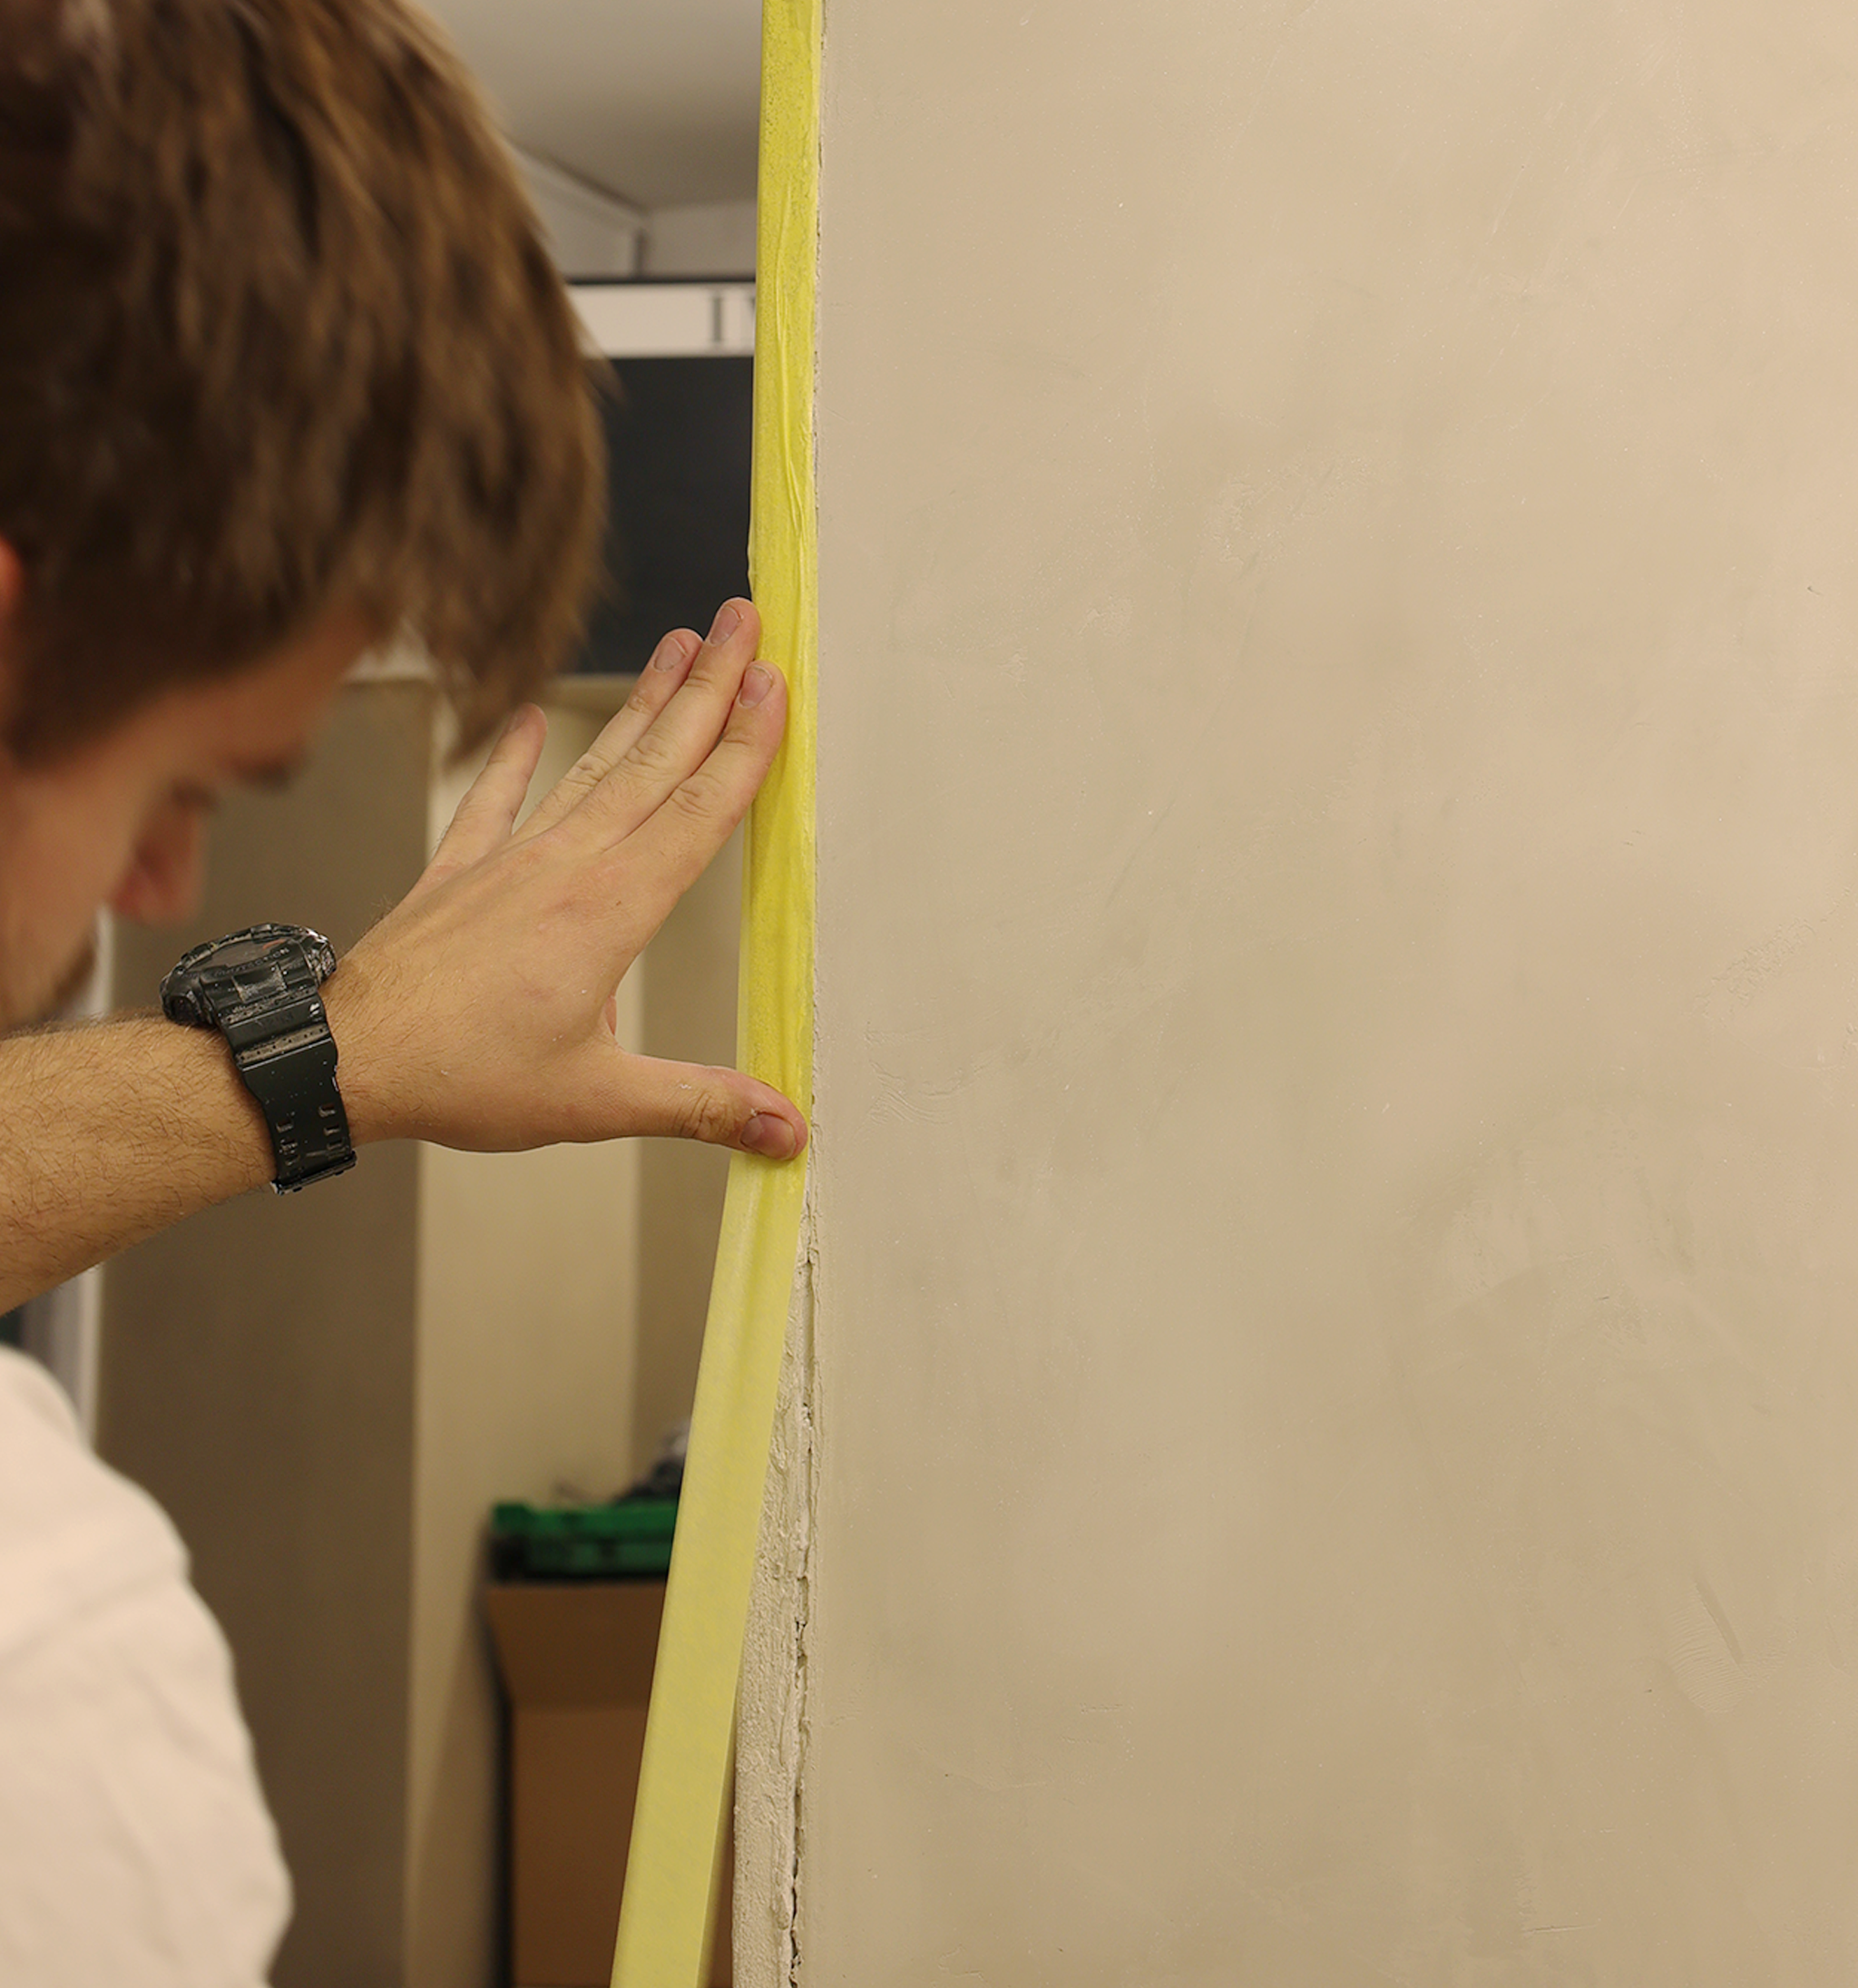
- We will then go through the different types of beads that can be used on the first basecoat, as well as the preparation of the mesh that will be embedded into this coat. We then proceed to apply the basecoat.
- Following a short break, while we wait for our basecoat to dry, we will go through the application of Microcement onto a shower tray. We will provide an in-depth explanation of how the tray looks, how it should be secured. We will then show how it should be prepared before the application begins.
- After our Lunch break, we will discuss the application of All Over and discuss what makes this product different to the Continuo product. These 2 products come from the same manufacturer, this creates a level of compatibility between the systems that we will discuss. We will also explain why you should use one system over the other in different situations.
- Once we are happy, we will return to our basecoat which should now be dry. We will prepare it for the second basecoat, and then proceed to mix a new batch of the Continuo Base, which we will then apply to end the day.
DAY 2
- We will begin the day by applying our primer to a wall this time, in preparation for further coats. We will then discuss what to do with our beads once our basecoat is dry.
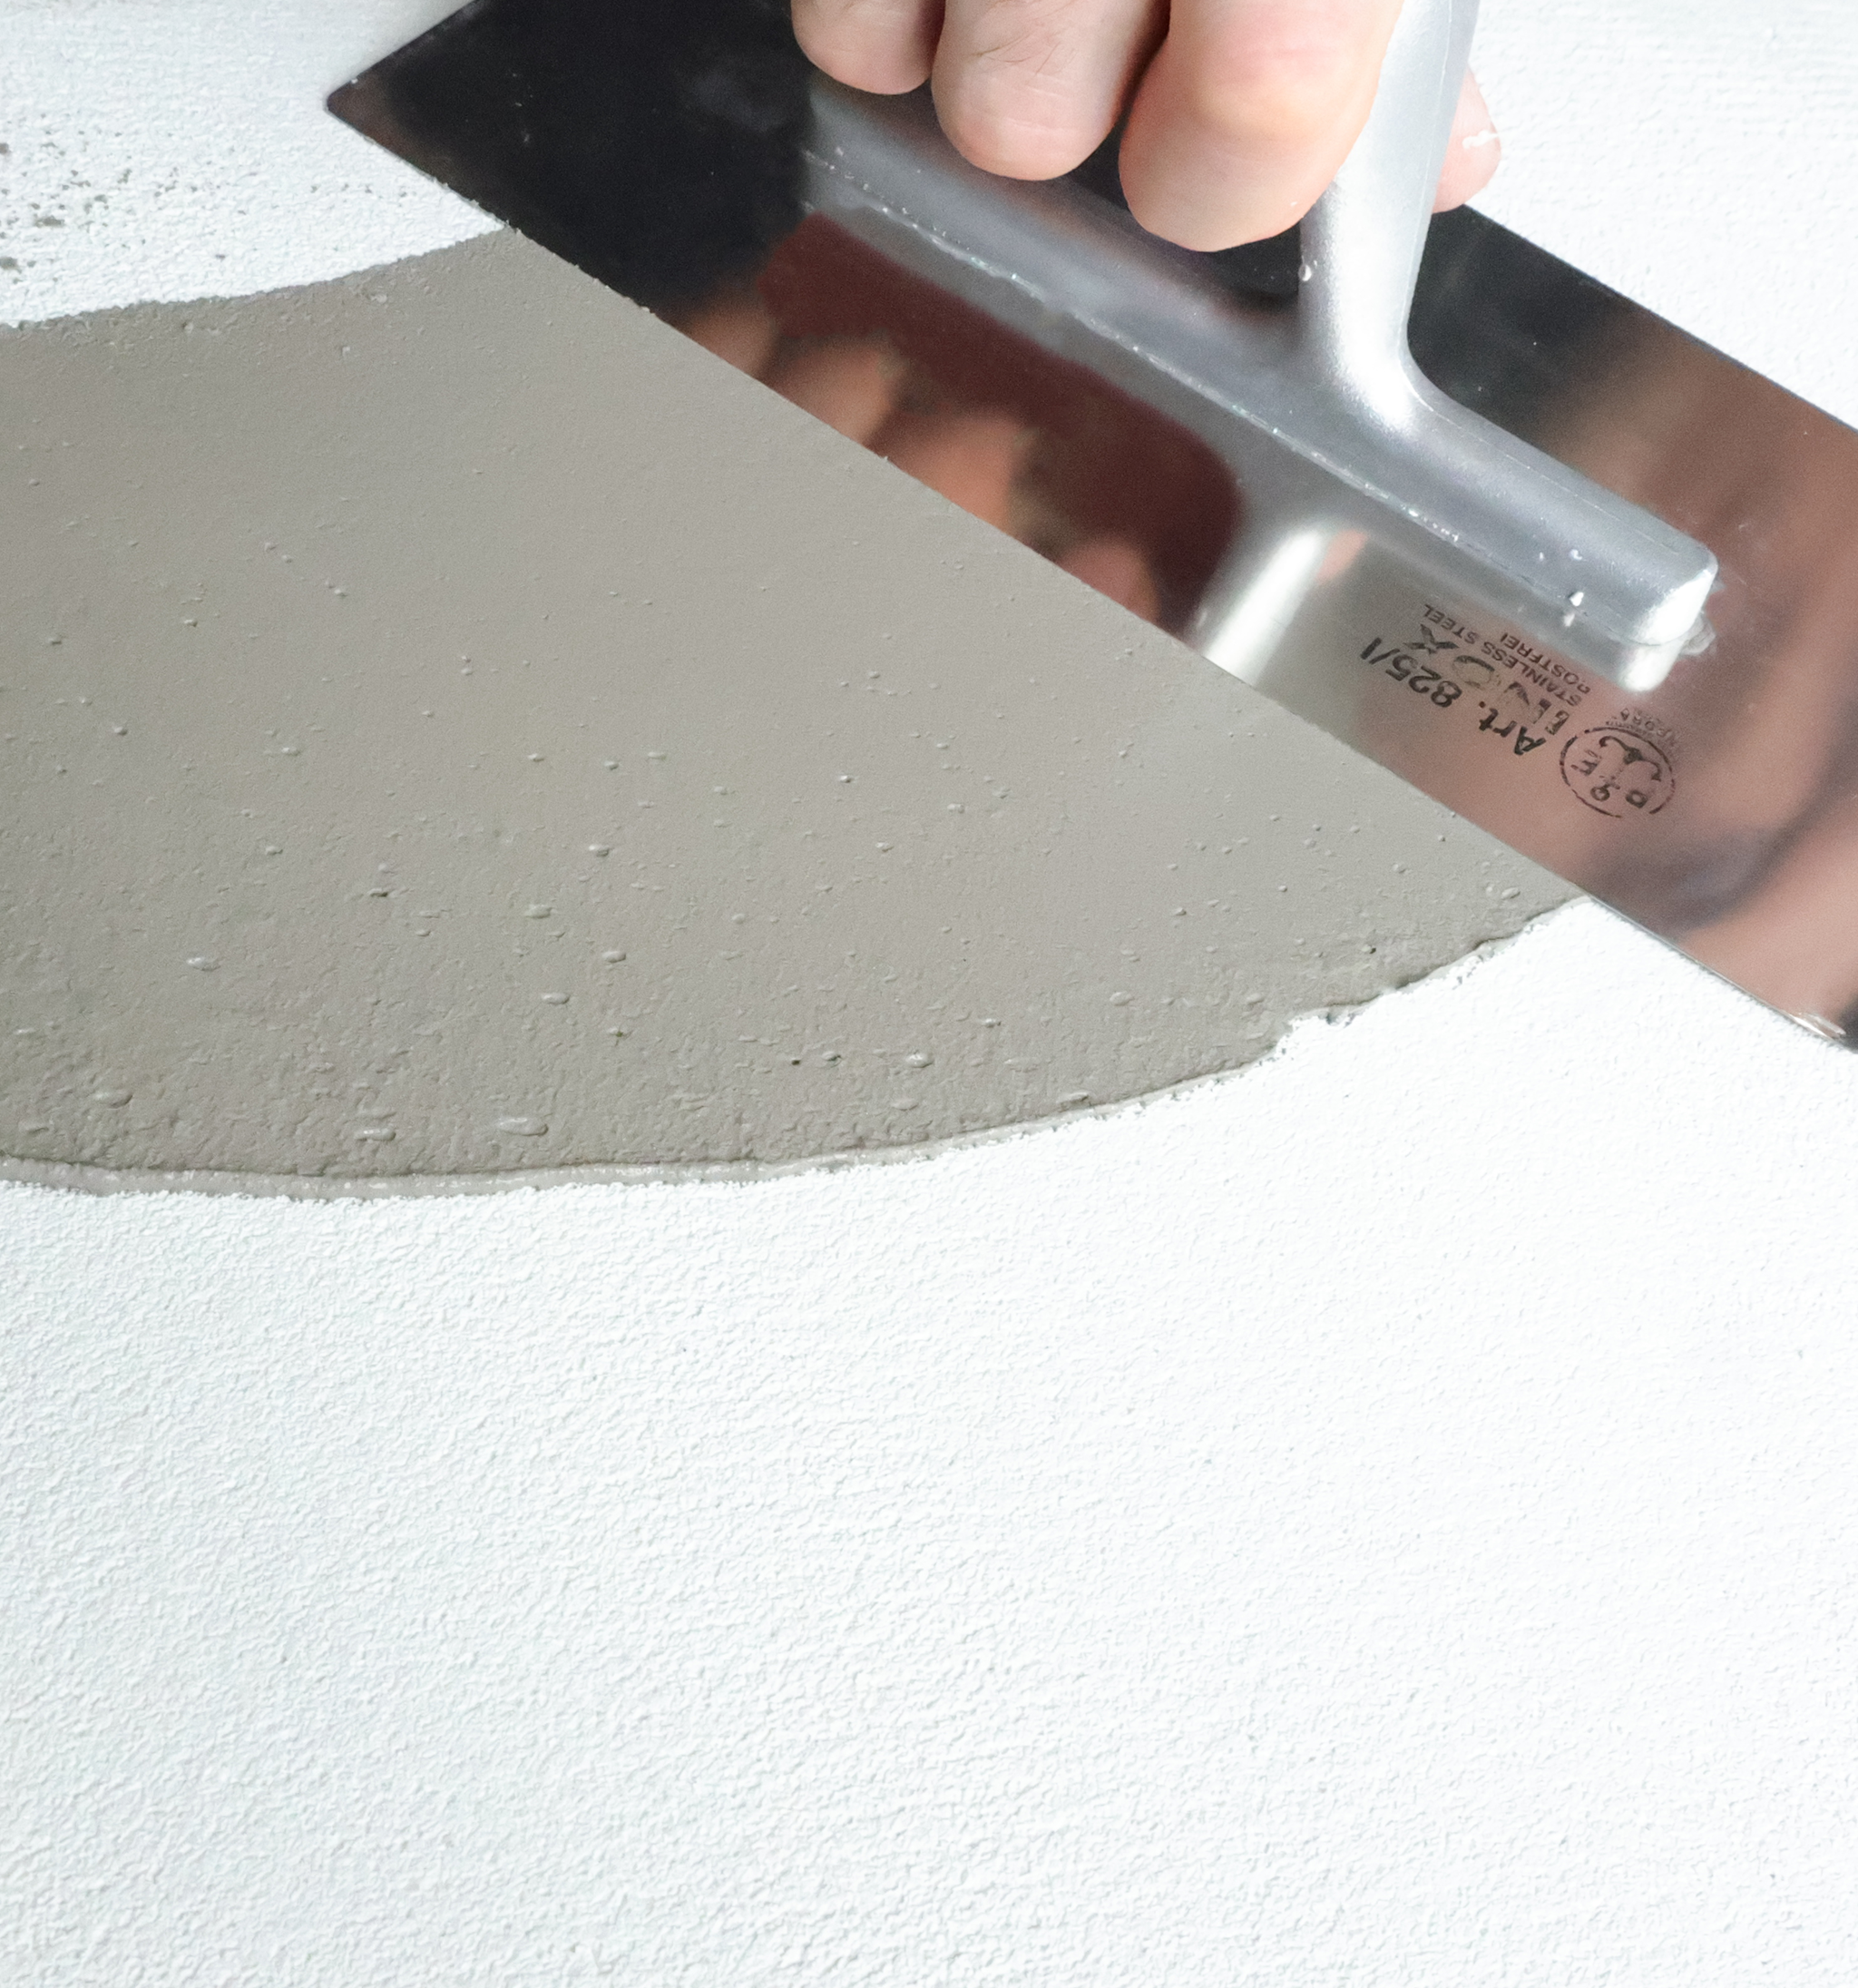
- Following a short break, we will begin to work with our main material, the decorative coat. We discuss the mixing process, and knock up our own individual amounts, in preparation for carrying out our own application on the wall. The decorative coat has the most influence over how the final finish will eventually come out, so a fair bit of time will be dedicated to discussing the impacts of different techniques that can be used, to the overall aesthetic appearance of the finish. We will then proceed to applying our 1st decorative coat.
- Whilst this dries, we will cover some of the more complex colouring techniques, and apply a coat of the decorative plaster onto our board too.
- After our lunch break, we will come back to our decorative coats, discuss the appearance of our work so far, then proceed to prepare the wall and board for the application of our second coat.
- We will end the day by showing how much we can affect our final finish based on the appearance of the first coat, and showing some of the different tolls that can be used for the second coat. We will then finish the day by applying our second coat onto the wall, as well as our board.
DAY 3
- The day will begin by coming straight to our finished decorative coats. We will do any snaggings we have at this point, including sanding, and general preparation of both the wall, and board, in order to have the surfaces ready for the application of the first sealer.
- The next step will be to discuss the Link coat. We will prepare our own Link, by learning the mixing ratios and following the correct processes. We will then proceed to applying our single coat of link on our wall.
- As Link can be coloured, we will go through how this can be done, and apply a coat of coloured Link to our board.
- After our break, we will check to ensure that our Link is dry. Then proceed to the application of our resin sealer (Top). We will again, go through the entire mixing procedure, prepare our Top, by following the guidance on the mixing ratios. We will then proceed to apply our coat of Top.
- Although the Top resin is applied on 2 coats, the waiting time required for it to set is simply too long for the scope of the course. We will however, discuss the final coat, as well as any restrictions that come once the application is complete.
- Finally, we will provide you with a signed certificate of attendance, any goodies that were part of the course, then let you make your way! This will typically be around 3:30pm onwards. We try to make sure we answer any outstanding questions. This can sometimes lead the ending to be a little later.
Discover:

