Which Substrates Can Microcement Be Applied On?

Share
- Microcement
- Microcement Application
- Microcement Floor
- Microcemento
Microcement is multi-layer coating system, that is suitable for a wide range of surfaces, both for decorative and functional purposes. It can be applied on virtually any substrate, with the appropriate primer and adequate surface preparation.
Which different surfaces can Microcement be applied on, and how should you go about it?
-
Concrete
When it comes to applying Microcement on concrete surfaces, it’s important to distinguish between new and old concrete applications. For freshly applied concrete surfaces, it is crucial to ensure it is properly cured, and free of any dust and particles.
For old concrete surfaces, repairing any cracks and levelling the surface is a must before any Microcement application.
-
Tiles
Applying Microcement over tiles is possible, and often done during renovations where the removal of tiles would mean extra time and cost. Whilst the joints may need to be filled, Microcement can adhere very well even to non-porous surfaces with the right primer.
-
Wood
Different types of wood can also be covered with Microcement, so long as it’s securely fixed and dry. The appropriate primer should be used before the application, and imperfections should be repaired.
-
Drywall (Plasterboard)
As with other surfaces, Microcement can be applied to drywall directly after ensuring proper surface preparation and priming. It can be applied to both old and new drywalls, so long as instructions are followed to ensure proper adhesion.
-
Plaster
Different types of plaster require different preparation, especially if it’s a decorative plaster. Depending on the texture of the surface, or any kind of protection that was used beforehand, the substrate should be prepped and primed according to professional instructions, to avoid any negative effect it could have on the bonding of the material.
-
Cement Boards
Microcement can also be applied directly to fibre cement boards, so long as the right primer is used.
-
Stone
It’s important to distinguish between natural and engineered stone, as natural ones may require more extensive preparation in case it has any loose parts or flakes, which should be removed before the application of the primer. Engineered stones should be prepped similarly, ensuring a clean and stable surface for the application.
-
Existing Coatings
Microcement can also be applied over any existing coatings, such as painted or varnished surfaces, with adequate preparation. Painted surfaces are simple to prepare, as only imperfections should be fixed and the surface cleaned before applying the primer, whereas varnished surfaces may need to be sanded and dusted, to create a surface Microcement can adhere to.
Important Considerations
Surface Preparation:
Depending on the type of substrate Microcement is applied on, the surface preparation can differ but nonetheless it is an essential part of the application to ensure a long-lasting, quality finish.
Stability:
Assessing the stability of the substrate and making sure the surface is free from any movement is an important part of the preparation work, as the Microcement can crack otherwise.
Priming:
There are different types of primers for non-porous or porous surfaces, and using the right one is crucial for the adhesion of the base coat to the substrate. Always check with the supplier.
Conclusion
One of the most practical aspects of Microcement, and what makes it a cost-effective alternative compared to other surface coverings is the fact that it can be applied over various substrates. With the right preparation and adequate primer, the adhesion of the basecoat is possible without any harm to the quality of the final finish.
Be sure to check with the supplier in case you have any questions regarding the primer or the surface preparation.
For any advice about our Microcement Systems, be sure to contact sales@imperaitalia.com.
If you are interested in learning the professional application of Microcement, check out our beginner and advanced courses!
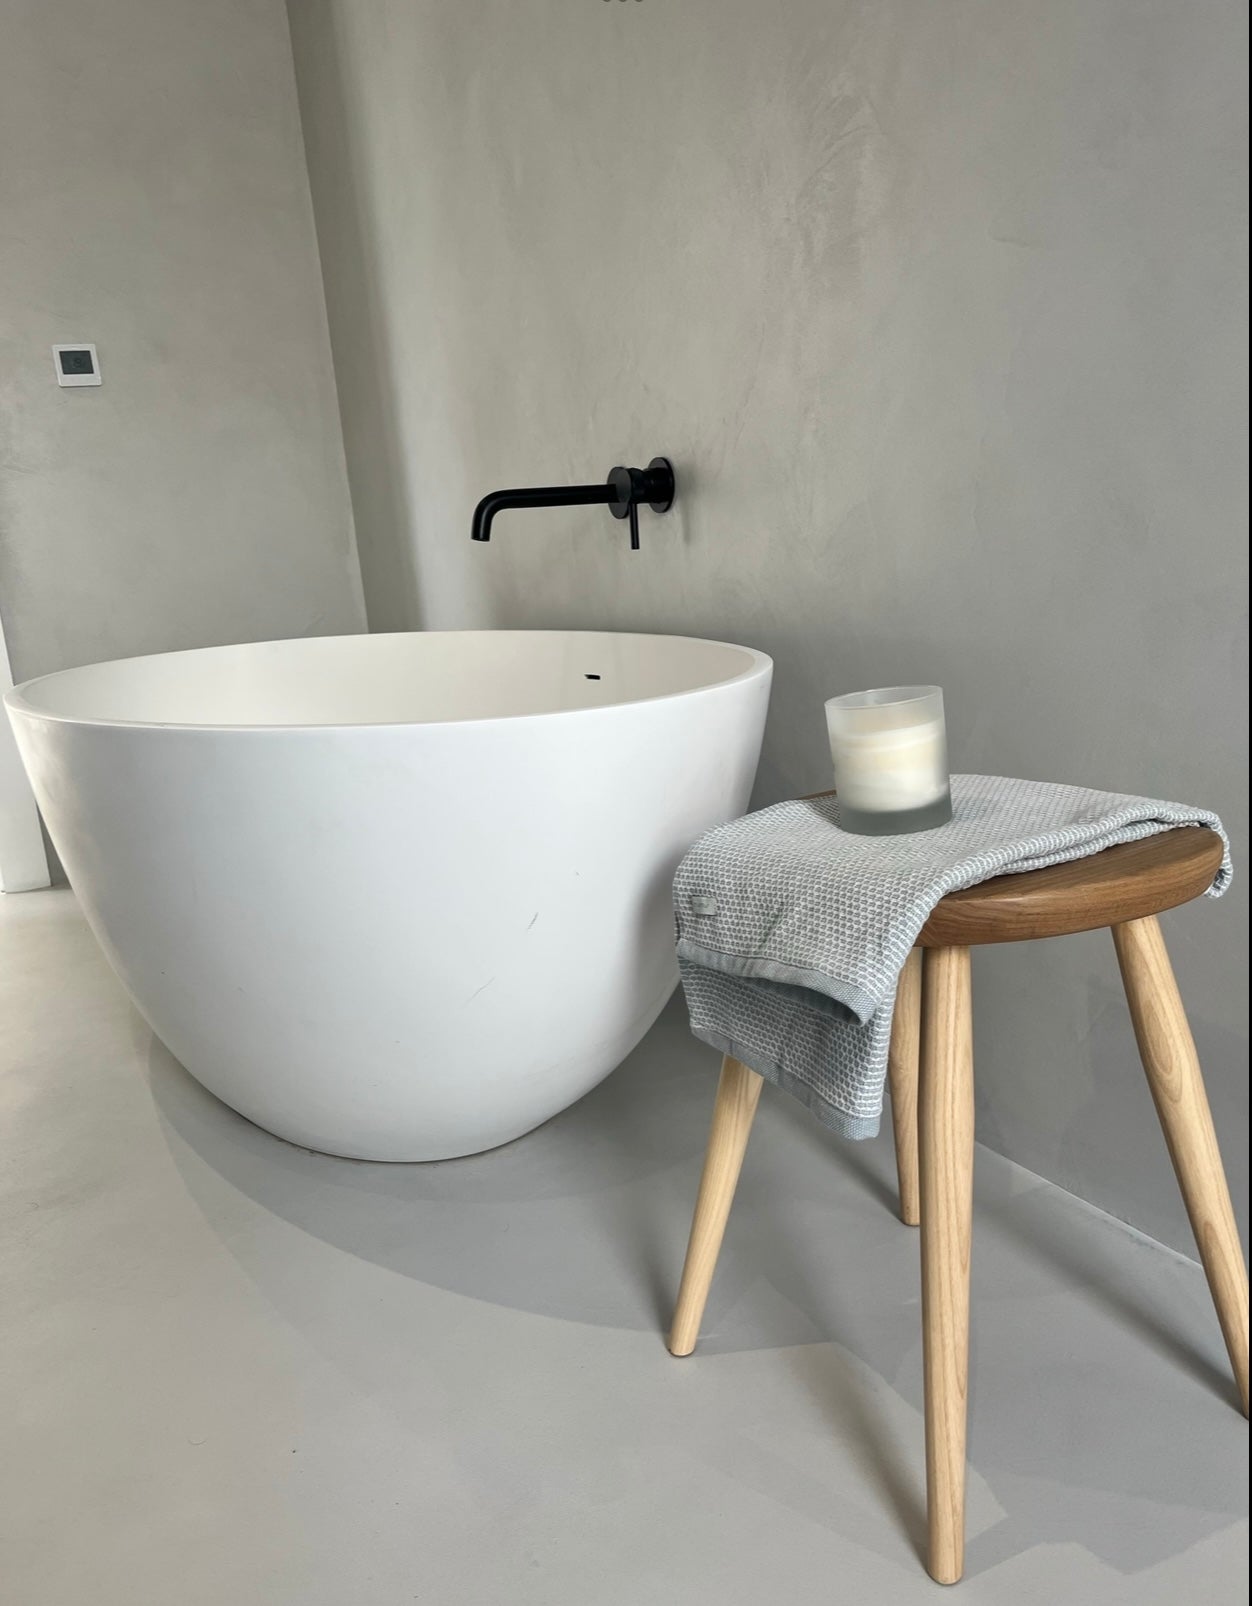
Photo credit to DQ Surface Designs
@dq_surface_design_training
